
How to Loop a Video on a Projector: Getting a Flawless, All-Night Loop
Updated: Sep 3
If you're trying to work out how to loop a video on a projector, the first thing to know is that the projector's built-in player is often the part that causes the problem.
The technical side. Cheap projectors have two habits that ruin a loop - here's exactly why it happens, how our clips are built to fix it, and the three ways to get a clean, text-free, seamless loop that runs all night.
Time: ~15 min · Difficulty: Easy–Intermediate · Cost: Low

What you'll need to loop video on a projector
Your projector (USB slot or HDMI)
A USB memory stick or SD card
A media player, if your projector has no USB slot
Optional: a video editor (for the long-video method - any free editor works)
Your ProjectionCraft clips (1080p MP4)
First, the two things that wreck a loop
A projection effect lives or dies on a clean loop, and budget projectors trip up in two specific ways. Once you know them, both are fixable.
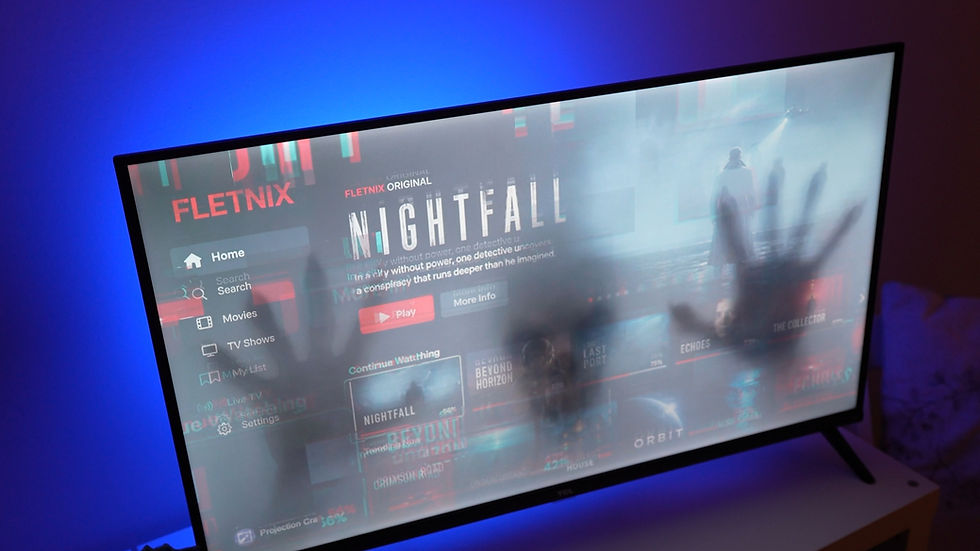
On-screen text (the HUD). Many cheap USB projectors flash a progress bar, filename or menu overlay every time a clip loops or moves to the next file. It splashes text right across your ghost and instantly breaks the illusion.
The black-frame blink. Some players drop a hard cut or a frame of black between plays, so instead of flowing, the loop visibly "blinks" at the restart.

How Projection Craft clips are built to solve this
Every pack is designed around these exact problems, and gives you multiple ways to run your show:
Short clips, 5–30 seconds, with a range of variations — so your loop has movement and variety instead of one repetitive cycle.
Connector Clips, shipped with every set — short black or white spacer clips (the "blanking" files) designed to sit between your effect clips, smoothing the join from one to the next. Depending on the pack, they also carry window frames or backgrounds, so you can shape the flow of your final show.
Fade-to-black and fade-from-black clips — a matching pair in every pack that eases a clip down to black and back up again. Drop them around your clips and the black frame between videos becomes a smooth, intentional fade instead of a hard cut — the same trick that makes a home edit look cinematic, done for you.
The full pack = complete control. Every clip, every variation, the connectors and the fades — for building exactly the sequence you want, and for motion-triggered setups where you need separate loop and scare files.
The ready-made Full Loop = the easy option. A single ~3-minute video with the variations, jump-scares and looping already sequenced for you. No editing, no file-juggling — drop it on a stick and go. It won't stop a projector's HUD from appearing (nothing on a single file can — it'll just show far less often, every few minutes instead of every few seconds), but for most people, on most projectors, it's the simplest way to a great-looking show.
Method 1 — The named-file playlist
Load the clips you want onto the stick and name them 001, 002, 003… Most USB projectors play files in that order and then loop the whole set. Mix your variations in whatever order you like — the built-in spacers of varying lengths keep each transition smooth.
Best for: fast setup with no computer. Works beautifully as long as your projector doesn't force a HUD between files. If it does, jump to Method 2 or 3.

Method 2 — Kill the on-screen text with VLC

Some projectors run Android and let you install apps from Google Play. If yours does, install VLC and play through it instead of the built-in player. VLC lets you switch off the overlay: while a video is playing, go to Control Settings → Video Transition → turn it off. VLC will then play clip-to-clip with no text and no progress bar.

Best for: projectors that overlay text but allow app installs — the cleanest fix when it's available.
Method 3 — Build one long video (the definitive fix)
If your projector forces a HUD on every loop and won't let you turn it off, stop fighting the loop — give the projector a single long video instead. With one file playing start-to-finish and repeating, there's nothing for the HUD to interrupt.
Drop your clips into any video editor in the order you want, add a fade to black between each one for a seamless, cinematic join, and export one long file. If a clip already contains a black spacer, it simply blends in — no problem. Put that single file on the stick and let it repeat.

Best for: stubborn projectors, and anyone who wants the most polished, hands-off result. A few extra minutes up front buys you a flawless night.
Method 4 — Use an external media player (my recommended route)
The most reliable fix is to skip the projector's onboard player altogether. Plug an external media player into the projector's HDMI input and let it handle playback — external players loop smoothly, without the HUD text or black-frame blink that plague cheap onboard players. A PC, Mac or laptop works too, but they're overkill to leave running all night.

My pick is the NEUMI Atom (the 1080P model is plenty; there's a 4K Lite as well). It's cheap, tiny, and built for exactly this job: it plays video from a USB stick or SD card, it powers on and starts playing automatically with no remote needed, and it loops a single video — or a whole playlist — continuously. The one trade-off is that it's an extra component to buy and power. But it's the difference between fighting your projector every night and simply switching it on.
Worth knowing now: the same NEUMI Atom is also the motion-trigger player. It can loop one video and fire a different one the moment a motion sensor or button is triggered — so if you might ever build a jump scare, this single box does both jobs. See the Motion-Triggered Jump Scare guide.
The pro touch — fades are what make it seamless
Even on good kit, a fade to black between clips is the difference between an amateur loop and a cinematic one: every clip settles to black and rises from black, so there's never a visible seam. That's exactly what the fade-to-black and fade-from-black clips in every pack are for — drop them between your effects and each transition eases through black instead of hard-cutting. Paired with the Connector Clips, you've got everything you need to shape a smooth, cinematic loop without touching an editor.
Quick troubleshooting
Text / progress bar on screen → the built-in player's HUD. Try VLC (Method 2), or a single long video (Method 3).
Black blink between clips → non-seamless player. Use fades and/or a long video.
Clip won't play → make sure it's the supplied 1080p MP4, not a re-compressed copy.
Loop stutters → underpowered player; a dedicated media player, or one long file, fixes it.
Getting it to start on its own each night
The most-asked question — "how do I make it all come on automatically so I'm not pressing play every day?" — and the honest answer is that it's fiddly, but doable.
The player is the easy part. A NEUMI Atom (or a USB-stick projector) powers on and auto-plays your video with no input. That side is solved.
The projector is the catch. On power-up, most projectors boot to their own smart/home menu instead of jumping to the HDMI source — so you'd still have to grab the remote and select HDMI each night. There's no universal fix because every projector's input settings are different. Dig into your projector's menu for options like auto source detection / auto input switching, or a way to set or remember the default input as HDMI. Some projectors boot to the last-used source — if yours does, leave it on HDMI.
Automate the power. Once the projector reliably lands on the right source, put the whole rig — projector and player — on a smart plug or mechanical timer set to switch on at dusk and off later. Now the display powers up, the projector shows HDMI, and the player auto-plays, all on schedule.
The honest trade-off. If your projector won't auto-select HDMI, a USB-stick projector sidesteps the problem — with no external source to choose, it just powers on and plays from the stick. The catch is you're back to the onboard-player HUD and loop quirks from earlier in this guide. So it's smooth looping (external player) vs. easy auto-start (onboard USB) — pick the headache you'd rather not have, based on how your specific projector behaves.
Making it interactive?
This same clip-and-loop foundation powers motion-triggered scares — a looping ambient clip that swaps to a scare on cue. See the Motion-Triggered Jump Scare guide.
Get the clips
Our effects ship as short, varied clips with built-in spacers — designed to loop cleanly whether you play them straight or edit your own long version. Shop Projection Effects
Gear used
Mini Projector – https://amzn.to/4pxfH1F
Numei Media Player HD – https://amzn.to/3Jo1XGd
Numei Media Player 4k - https://amzn.to/4nXhonH
Motion Sensor – https://amzn.to/47zwdHm
HDMI Cable – https://amzn.to/4gxS70s
Comments