
How to Make a DIY Halloween Window Projection
Updated: Sep 3
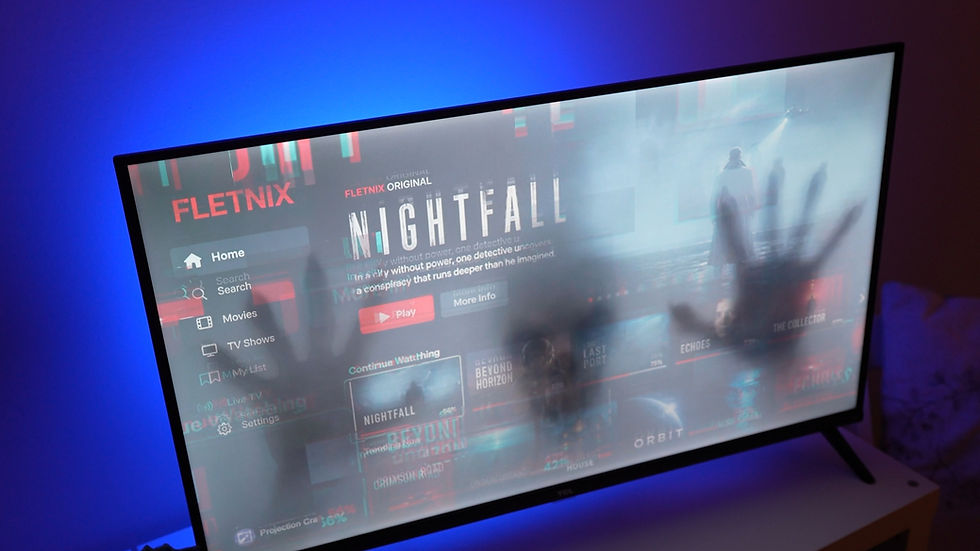
Turn any window into a floating ghost — a serious wow factor for your Halloween display, with no permanent curtains, drapes or window treatments.
Time: ~30 min · Difficulty: Easy · Cost: Low
What you'll need
A projector — ideally with a USB slot so you can play from a memory stick
Scrim or chiffon curtain material
A window with space in front of it
A USB memory stick — or a laptop, TV stick or media player if there's no USB slot
A ProjectionCraft ghost effect (or any effect with a black background)
Optional: candles for depth
(See links to recommended products at the end of this post)
How to make a DIY Halloween Window Projection starts here...
Step 1 — Choose your projector
TO start your DIY Halloween window projection you are going to need a projector - the one feature that saves the most hassle is a USB slot — plug a memory stick straight in and skip the cables. No USB slot? Connect a TV stick, laptop or media player via HDMI instead.

Step 2 — Pick your window
Choose a window with room in front to position the projector. Ground-floor, street-facing windows give trick-or-treaters the best view.

Step 3 — Position the projector
Set it on a table and line the image up to fill the window. Drop the front foot or tilt it to lift the image into place — always a little trial and error.
Step 4 — Hang the scrim
Scrim is an open, semi-transparent mesh: it catches enough image to show a bright effect from outside, while staying see-through for depth. Use an existing sheer curtain, or hang chiffon on a telescoping pole.
(Iron it first — creases show under projection.)

Step 5 — Focus and go dark
Adjust the focus, then turn the lights off to see the effect properly. Everything reads stronger in the dark.
Step 6 — Load your content and loop it
Put just one video on the stick so it loops cleanly — several files may cycle instead. Navigate to the USB/Movie menu, select your effect, set it to repeat. Effects with black backgrounds read best — the black disappears and only the ghost shows. You can find Halloween Projection videos for windows and other screens here

Step 7 — Hide the projector
Move outside and you'll spot the lens glare, which breaks the spell. Lower the projector below the window sill — the glare vanishes and the ghost looks like it's truly floating. [IMG: clean effect from outside]

The pro touch — candles for depth
Because you can see through scrim, a few candles (make sure they are battery powered an not real - you don't want to cause a fire!) behind it let viewers see past and through the ghost into the room — adding depth and looking genuinely eerie. It looks fantastic from inside the house too.


Get the video downloadable effect used in this guide
The floating ghost here is one of our cinematic, black-background effects — built to read perfectly on scrim. Download it and you're minutes from your own haunted window. www.projectioncraft.com/products
Gear used
Projector: https://amzn.to/4cDPzum
Curtain Pole: https://amzn.to/3WWQD6N
Sheer Curtain/Scrim: https://amzn.to/3SYSJ4X
Candles: https://amzn.to/4dBuu4S

Comments